
The Legend of Zelda series loves its element-themed temples, and Tears of the Kingdom has introduced a brand-new type, as players must conquer the Lightning Temple to save Hyrule. The Lightning Temple can be tricky, as its gimmick involves lining up reflections, but with our guide, you should complete it and save the Gerudo Tribe once more.
The Lighting Temple is the final location in the “Riju of Gerudo Town” quest, one of the four main storyline missions in the “Regional Phenomena” quest in TotK. To reach the Gerudo settlement, head to the desert in the southwestern part of Hyrule and brave the scorching winds and dangerous weather conditions. Once you complete the quest that involves lining up the pillars in the desert, the Lightning Temple will rise from the sand.
Related: Tears of the Kingdom Complete Strategy Guide – Quests, Shrines, & Full TotK Walkthrough
How to Complete Lightning Temple in The Legend of Zelda: Tears of the Kingdom
Screenshot By Gamepur
The main goal of the Lightning Temple in Tears of the Kingdom is to charge four batteries around the dungeon, as these will activate a lift in the central chamber. To do this, you’ll need to explore the Lightning Temple, find the batteries, and use Riju’s special power by pressing A next to her, creating a lightning aura that causes a bolt of thunder to strike the spot where you fire an arrow.
The other gimmick of the dungeon is that you will need to use Zonai Mirrors to reflect light onto green plates and yellow switches. These will open doors to new areas. You also have to reflect mirrors off each other, so be prepared to do some lining up.
Before entering the dungeon, make sure you’re fully prepared. Ensure that Link is at full health and that you have lots of Shock Fruits or Electric Keese Eyes, bring shields, melee weapons, and many food items. It also helps to have melee weapons with attachments that give them lightning effects, as it will be useful against the Gibdo and constructs in the dungeon. You’ll need them, as you have a tough fight at the start of the Lightning Temple, with more difficult opponents to follow.
The Legend Of Zelda: Tears Of The Kingdom Opening Area
 Screenshot By Gamepur
Once the Lightning Temple is raised from the sand, it will have two Gibdo hives and a purple appendage sticking out of the front door. Hit the appendage with Riju’s power, and Queen Gibdo, the boss of the Lightning Temple, will emerge. Check out our Tears of the Kingdom Queen Gibdo guide for information on how to defeat her.
When her majesty departs, the Gibdo hives will activate. Use Riju’s power to destroy them. When you enter the Temple, you’ll see a chest on the right buried in the sand. Use Ultrahand to pull it out if you want the Zonai Flame Emitter inside. Jars in this room and throughout the dungeon can be smashed, with many containing arrows.
 Screenshot By Gamepur
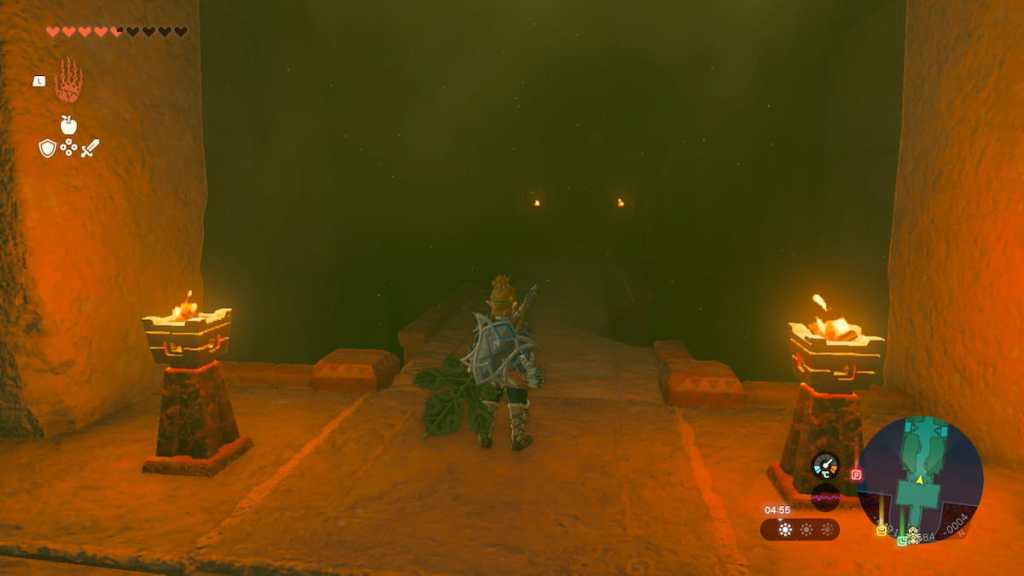
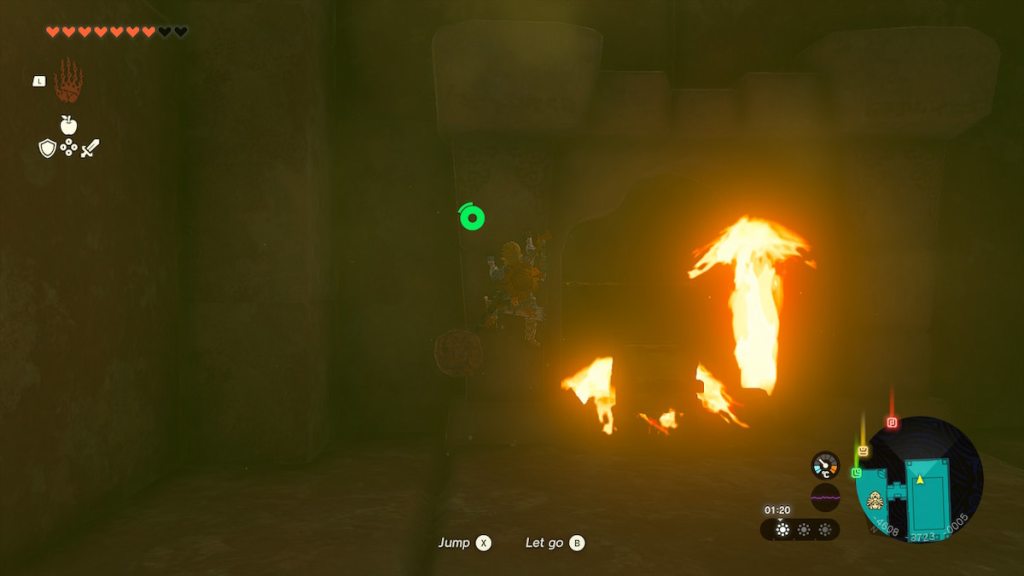
There are also two Korok-Frond Gusters on the wall. These shoot a blast of wind when used as melee weapons. Use this to clear the pile of sand in the room, revealing a button to open the door. You’ll head down a passage into the basement floor, where it’s pitch dark. Luckily, a torch and flames are nearby, which you can use to light your way.
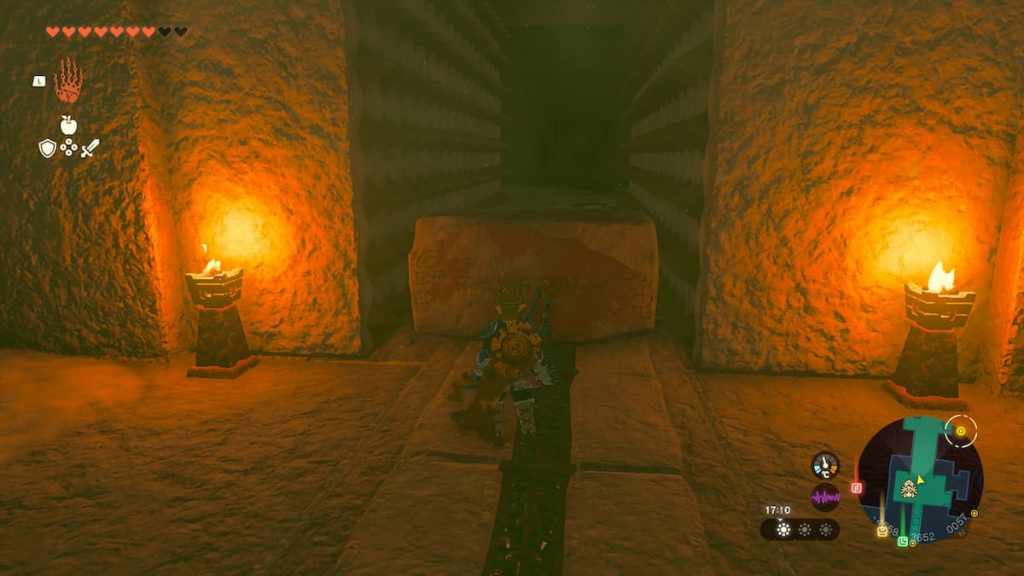
The next room has an entranceway with two blocks in the way. Use Ultrahand to unblock it and enter the room. Kill the Gibdo and take the Topaz from the chest. Two crypts are covered with slabs, which can be lifted with Ultrahand, revealing a Gerudo Claymore.
The next room has a square of sand in the center, but it’s a pit trap! You can jump into the pit to enter a room with an Electric Keese and a crypt with a Gerudo Scimitar. You can Ascend to get back up and continue to the next room, which has two Ghibo you can kill.
 Screenshot By Gamepur
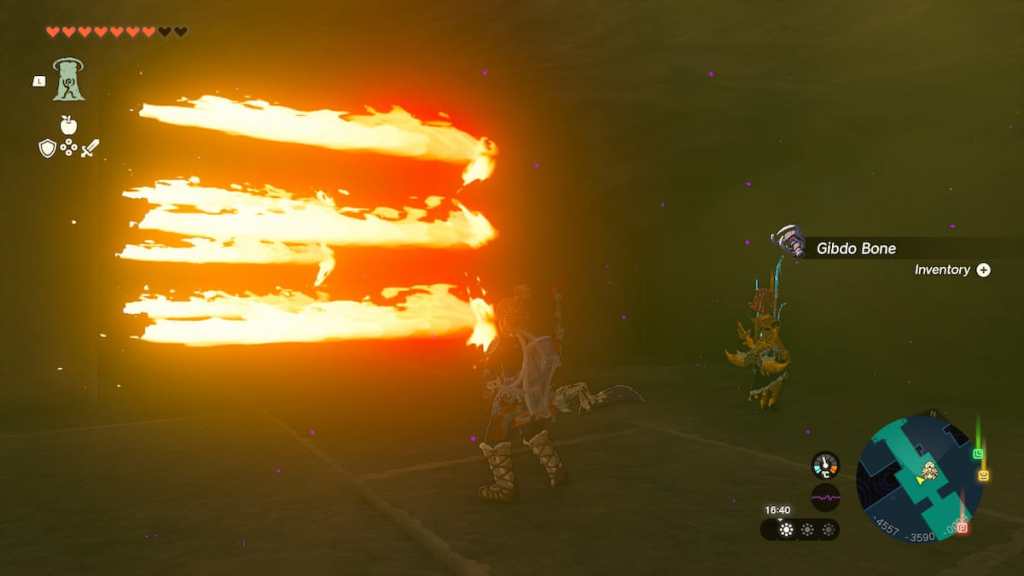
The next room has two flame traps that go out every few seconds. Time your run carefully, and you should be able to get to the next room without taking damage. The next room has a button on the floor to switch off the flame traps and open the locked door.
The next room has flaming boulders that descend a narrow corridor. Use Recall to send them back up – follow them closely, and at the end of the corridor, you’ll see a path branching off to the right. The next room has another button that switches off the traps and opens the doors. Another corridor with another Gibdo follows it.
 Screenshot By Gamepur
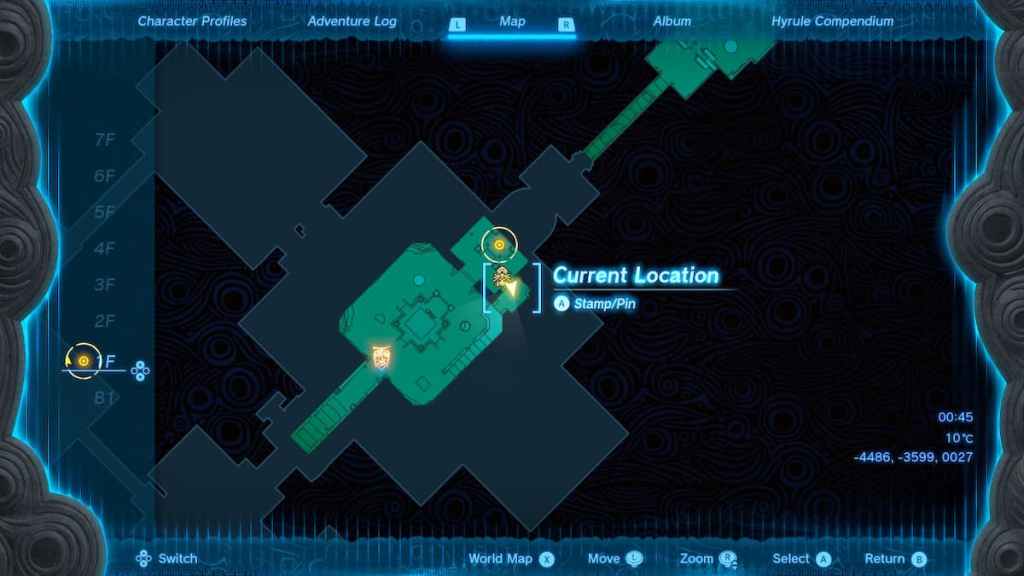
The next room has a Gibdo hive and a crypt with a Gerudo Bow and arrow vases. Kill the Gibdos and blow up the hive with Riju’s power. You might notice on the map that another room is branching off from this one. This is reached through a small passage in the wall. Check out the screenshot above if you can’t find it.
This secret room has a spinning contraption with spikes on the end and a flat platform on the other. To bypass it, use Recall and run up to the non-spike side, which will push you up. There is a chest behind it with a Mighty Zonaite Shield. Return to the hive room; the next path should take you upstairs. Into the Room of Hopeful Light.
 Screenshot By Gamepur
The Room of Hopeful Light has a powerful Construct guarding it, so deal with it first. The room has a mirror buried in the sand, a beam of light in the center, and some rocks nearby. Stack the two blocks in the light using Ultrahand, climb onto them, grab the mirror with Ultrahand, and hold it up to reflect the light onto the yellow circle above the door. Check the screenshot above if you’re unsure what to do. Once the circle turns green, the door will open.
There is a secret entrance on the south wall of this room; you can see it on the map. A chest is in the room, but if you approach it, it sinks, as it’s on a pit trap. The room also has mirrors and arrows and a chest with a Mighty Construct Bow. In the pit room, there is a door guarded with roaring flames. To bypass it, I put the chest on the flames and climbed around the empty spot. There’s a Gerudo spear inside. You can Ascend back to the Room of Hopeful Light.
 Screenshot By Gamepur
The stairs lead to the first floor, into the Room of Ascension, where a cutscene plays. Activate the Zonai console, and a fast travel spot will appear. The lift in the center of the room tries to rise, but it doesn’t have enough power. A voice tells you you must charge four batteries to get it working.
Tears Of The Kingdom Lightning Temple: Where To Find The First Battery in TotK
 Screenshot By Gamepur
The first battery is easy to find. It’s in the Room of Ascension, and you should be able to see it behind a gate. Just to the right of the gate, some slabs in the wall can be removed with Ultrahand. Remove the slabs, enter the chamber, and you’ll notice a big chunk of metal in the shape of a diamond, which is the battery you’re looking for. Use Riju’s power to strike the battery with lightning, activating it.
Tears Of The Kingdom Lightning Temple: Where To Find The Second Battery in TotK
 Screenshot By Gamepur
In the Room of Ascension, stairs wrap around the edge of the room, leading upward. Keep following them until you reach the top, then climb up the south wall. You’ll come to a ledge with a construct – kill it. Then go into the Room of Natural Light.
 Screenshot By Gamepur
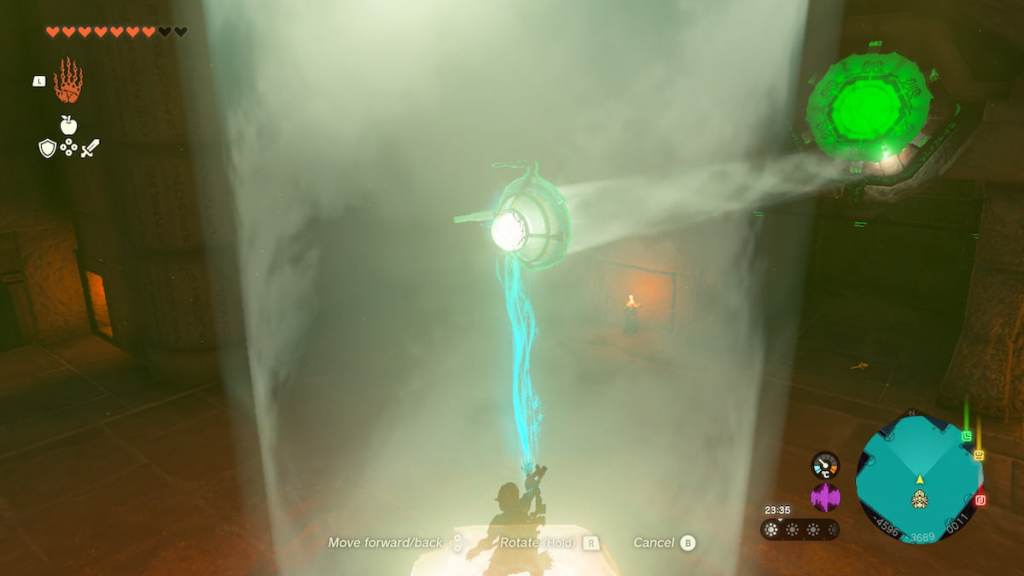
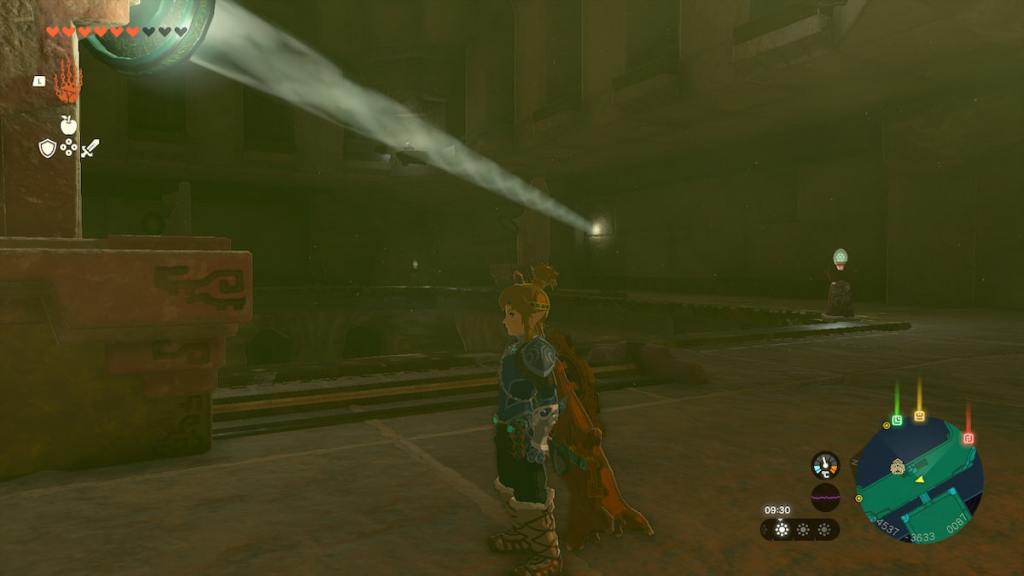
The Room of Natural Light has a slab, a light pillar, and a mirror. Place the slab vertically where the light is, put the mirror on it, and have it reflect the light out of the doorway, as seen in the screenshot above.
Out on the ledge, there are four mirror statues on rails. Go to the mirror statue near the far wall where the light is touching and use a Korok-Frond Gusters to blow away the sand, allowing it to move. Line it up with the light coming into the room, causing it to reflect over to the other side of the room. You should then easily be able to line up the reflection with the statue on the far side, where it will hit a green plate.
 Screenshot By Gamepur
Ascend or climb up to where the light shines and approach the green plate, causing a doorway to open. This leads to a drop where you need to glide and avoid jets of flame. You’ll come to the Room of Light of Flame. There is a button that will open the door and let Raiju in. There are also two nasty constructs outside that you should deal with. When they’re destroyed, use Riju’s power with an arrow to hit the second battery.
Tears Of The Kingdom Lightning Temple: Where To Find The Third Battery in TotK
 Screenshot By Gamepur
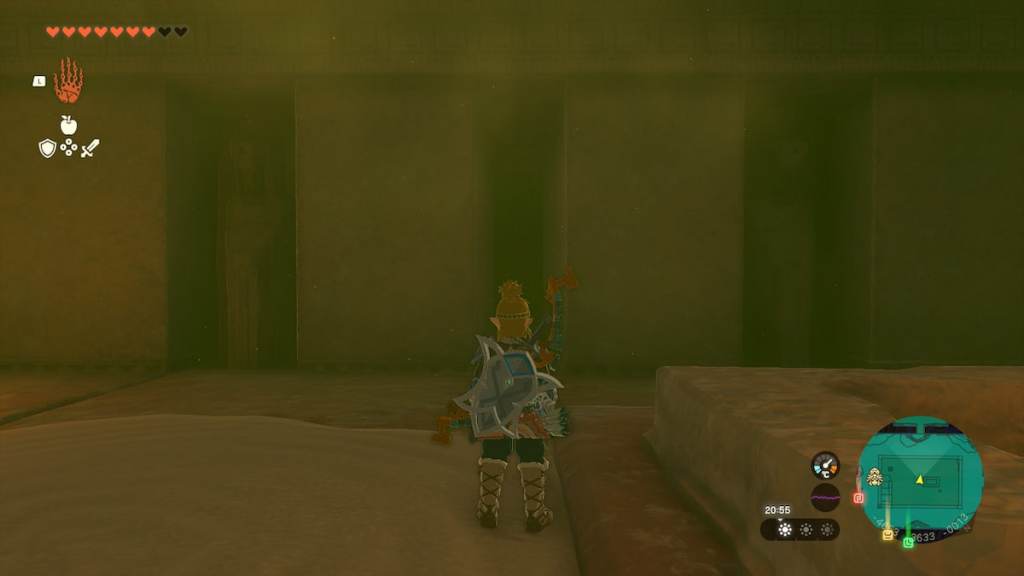
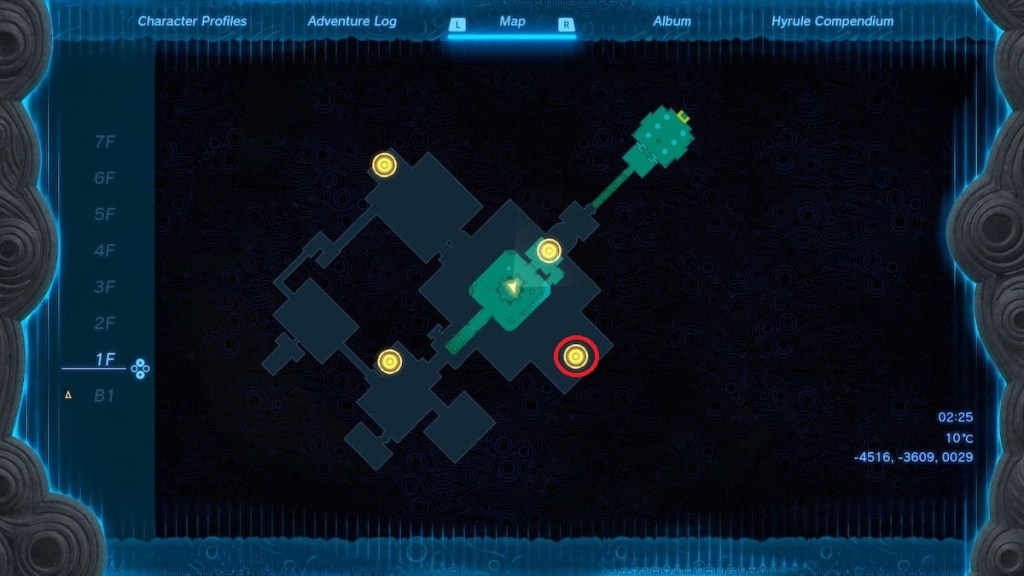
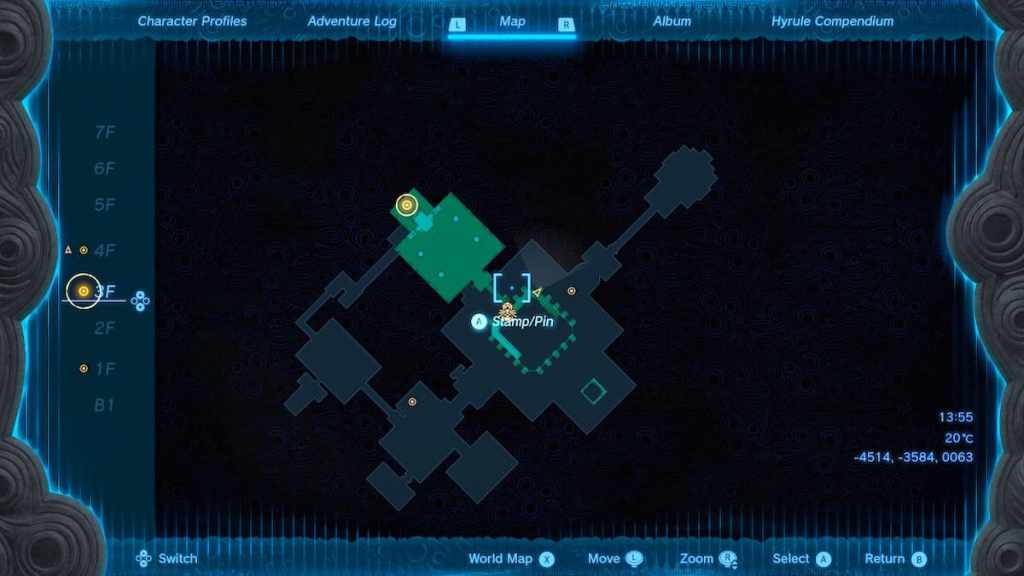
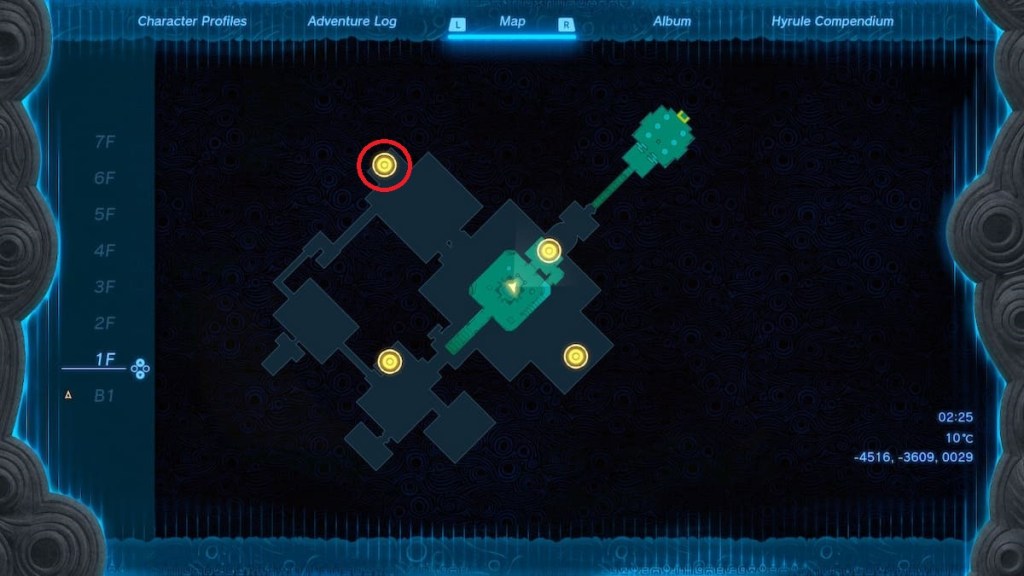
Return to the Room of Ascension, climb the stairs to the third floor, and look at the corner of the wall, where you’ll see an entrance. Check the map below and follow where Link’s pointer points if you’re unsure where it is.
 Screenshot By Gamepur
Climb up to the entrance and fight the construct. The next room has two spinning wheels and a locked door. You can just run through the spinning wheels and into a room with some blocks in the wall that you can move with Ultrahand. Now the spinning wheels’ purpose is revealed – there is a light behind the wall, and they’re blocking it. Use Recall to stop one of the wheels and restart it when it’s nearly aligned with the other wheel. This will allow the light to shine through and open the locked door. Once it goes around again, it will light up a green plate on the other side of the room.
 Screenshot By Gamepur
Run over to the green plate, which will slide to one side. This leads to a room with a crushing mechanism and some slabs to the side. Put one of the slabs in the middle of the room to jam the mechanism, allowing you to pass. A button on the other side will stop the mechanism. The next room has a dropping trap with constructs on the other side. There are also some slabs in the wall here; use Ultrahand to place one vertically to jam the trap. Go to the other side and kill the constructs.
 Screenshot By Gamepur
The next room has stakes in the ground, a mirror, and light coming up in the center, but a hatch is blocking it. There’s a hole in the floor nearby where you can drop down into a room with a spinning exterior, stakes, a mirror, and a green plate blocked by the spinning. You must jam a stake next to the green plate to stop the room from spinning, then use the mirror to reflect the light. This will open the hatch blocking the light below. Ascend back up. Grab the mirror, reflect it toward the green plate, and it will open the way to the third battery. Raiju should appear to help you activate it.
Tears Of The Kingdom Lightning Temple: Where To Find The Fourth Battery in TotK
 Screenshot By Gamepur
Return to the four mirror statues on the fifth floor, which you encountered earlier while unlocking the second battery. Line up the mirror closest to the light source with one on the right side of the room, and It will shine a light down to a green plate.
 Screenshot By Gamepur
Glide down to the plate on the second floor, where the light is shining, and it will slide across. This will lead to stairs that will go up to the Room of Cursed Light. This is a room with a Gibdo nest and four constructs. Use Riju’s power to destroy the nest, then kite two of the melee constructs towards you and kill them. The other two constructs are archers, so use the columns as cover and kill them with Riju’s power.
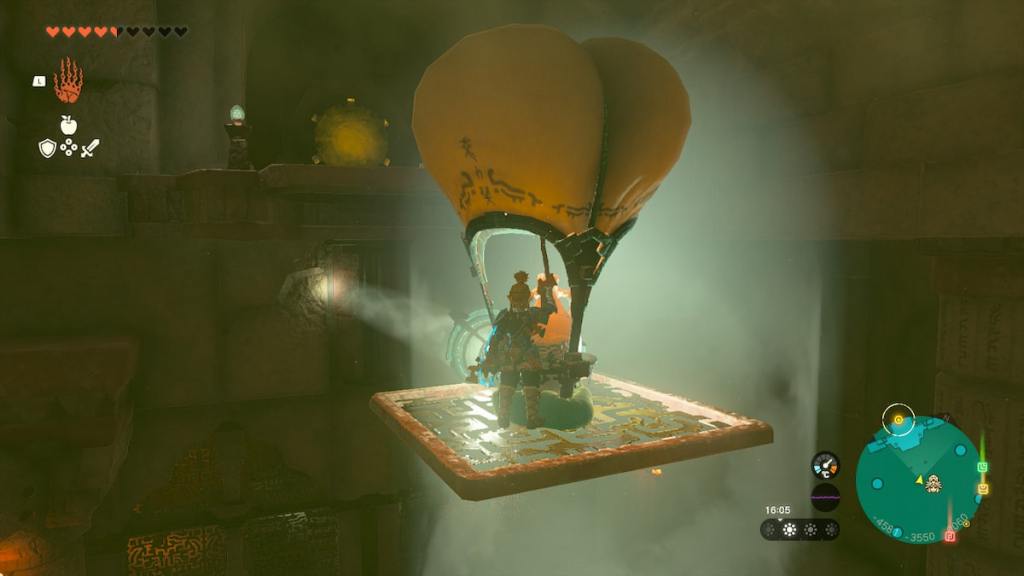
Now that the monsters are dead, you can examine the room, which has a pillar of light in the center, some balloons, a platform, a mirror, a torch on the wall, some lit sconces, and a locked gate. Your goal is to get the mirror into the area above by attaching a balloon to a platform, attaching a mirror to the front, lighting the torch, and standing below the balloon to get it to rise, as seen in the screenshot below.
 Screenshot By Gamepur
If done correctly, the mirror’s light should line up with a yellow switch, causing the door below to open and revealing the path to the last battery. Use Riju’s power on the battery and then return to the Room of Ascension. Before you use the lift, make sure to prepare as much as possible, as you’re about to have a rematch with Queen Gibdo.
Related: Is The Legend of Zelda: Tears of the Kingdom Sold Out?
And that’s it! Check out our other The Legend of Zelda: Tears of the Kingdom guides below to help with crafting, exploring, and tackling challenges across Hyrule.
Tears of the Kingdom Complete Guide | Every Ability & How To Unlock Them | How to Get The Paraglider | How to Get & Use The Travel Medallion | All Armor Locations & Where to Find Them | All Construct Materials & Where to Find Them | All Shrine Locations & Strategies | How to Get More Heart Containers
About the author
![]()
Scott Baird
More Stories by Scott Baird